Corporate Profile Tab
The Corporate Profile tab allows the User to View, Edit, Add Users and Add Documents to the Corporate Document library for any or all of their companies.
View/Edit Corporate Profile:
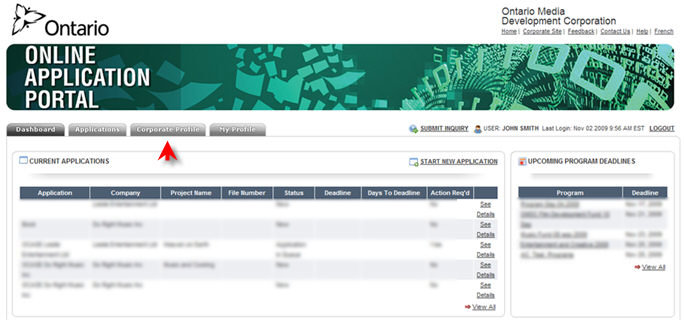
Click on the Corporate Profile tab as shown below.
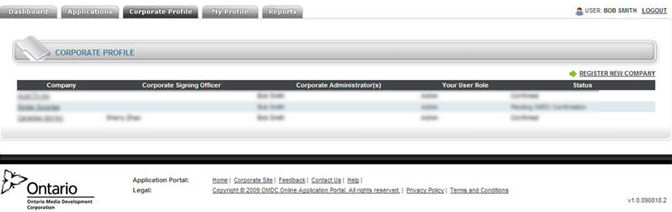
A list of all Companies or those you have access to it will display.
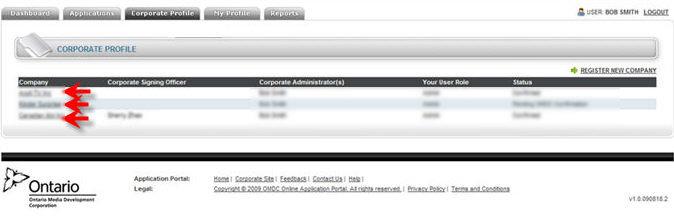
Click on any one of the Company links as shown below to view the companies profile.
The selected Corporate Profile will display.
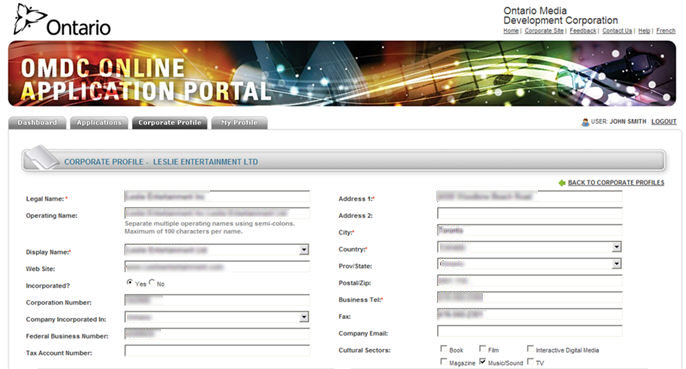
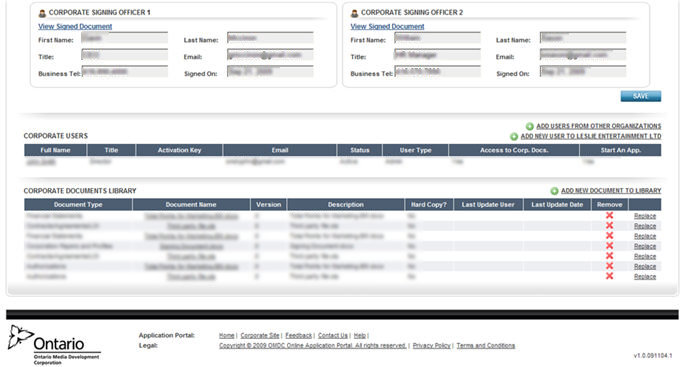
View or Edit any or all of the desired information.
Ensure the Corporate Signing Officer has signed the document.
Note: To view
the Signed Document, simply click
the  link. This will open up a Word document.
Upon completion, click
 .
.
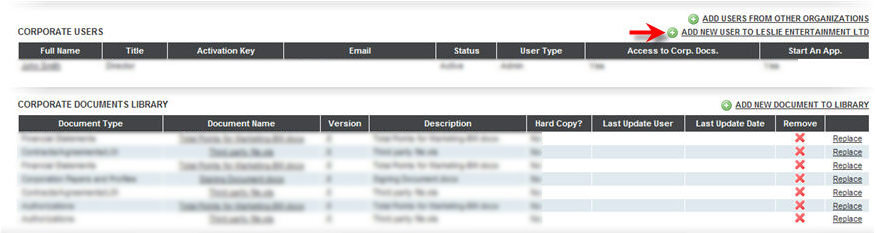
Add Users from Other Organizations:
Click the Add Users from Other Organizations link as shown below.

The following pop-up will display a list of all users in the companies managed by the current user.

Using the check box(s)
as shown below, select your desired person(s) and click  .
.
That person will now appear under Corporate Users.
Note: The Add New User to (Insert Company name) link will not be activated until Signing Officers information is uploaded by OMDC.
Add New User to Current Company:
Click the Add New User to Current Company link, as shown below.
The Add New User page will display as shown below.

To Add
or Update information, click
the  button and make your desired changes.
Note: If the
Address is the same as the company, click the  button and
the address will automatically populate.
button and
the address will automatically populate.
An email will be sent to the Signing Officer(s) for approval.
After approval (If the user is new), an email will be sent to the new user for activation.
Register a New Company:
Click the Register New Company link as shown below.

The Register New Company page will display.

Fill in the applicable
information and click the  button.
Your Company will now be added.
Add New Document(s) to Library:
Click the Add New Document to Library link as shown below.

The following pop-up will display.
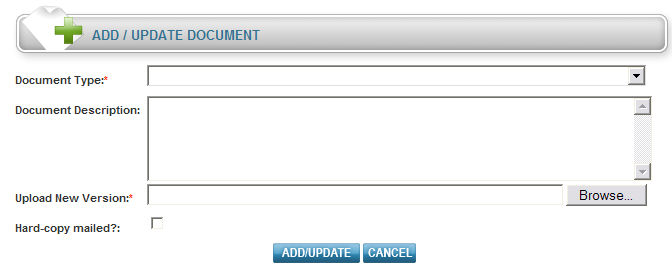
Fill in all the applicable
information and click  . The Choose
File to Upload screen will display.
. The Choose
File to Upload screen will display.
Double click on the desired
file and click the  button.
Your document will now be uploaded.
At anytime you may click  to cancel your
upload.
to cancel your
upload.
To remove a document, simply click the  icon. The following pop-up will display.
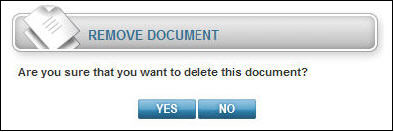
Click Yes or No.
To replace a document, simply click the Replace link as shown below.

The following pop-up will display.

Make your desired changes to the selected document.